Introduction
Surround sound has revolutionized how we experience audio, transforming ordinary sound into a multidimensional auditory experience. surround sound test Whether you’re watching movies, gaming, or listening to music, a well-calibrated surround sound system ensures that every detail comes alive. But to unlock its full potential, testing your setup is essential.
Surround sound systems come in various configurations, such as 5.1, 7.1, and advanced formats like Dolby Atmos and DTS:X. These systems create an immersive soundstage by strategically placing audio in different channels, enveloping the listener. Testing ensures every speaker and component functions optimally, providing clarity, balance, and spatial accuracy.
In this guide, we delve into the steps needed to test your surround sound system effectively. From understanding the basics to troubleshooting issues, this comprehensive resource will help you fine-tune your system for an unmatched audio experience.
1. Understanding Surround Sound Basics
1.1 What is Surround Sound?
Surround sound is an audio technology designed to create an immersive experience by simulating sound from all directions. Unlike traditional stereo, which uses two channels, surround sound leverages multiple speakers to deliver audio from front, back, and even above. This setup enhances realism, making you feel like you’re part of the action.
For instance, in a movie, surround sound allows you to hear footsteps approaching from behind or rain falling overhead. It’s this spatial accuracy that sets it apart, adding depth and dimension to the listening experience.
1.2 Types of Surround Sound Setups
Surround sound setups vary, with configurations like 2.1 (stereo with a subwoofer), 5.1 (five speakers and a subwoofer), and 7.1 (seven speakers and a subwoofer). Advanced formats like Dolby Atmos add height channels, enabling audio to move in three-dimensional space.
Each setup serves different needs. A 5.1 system suits most home theaters, while 7.1 and Atmos systems cater to audiophiles seeking unparalleled immersion.
1.3 Components of a Surround Sound System
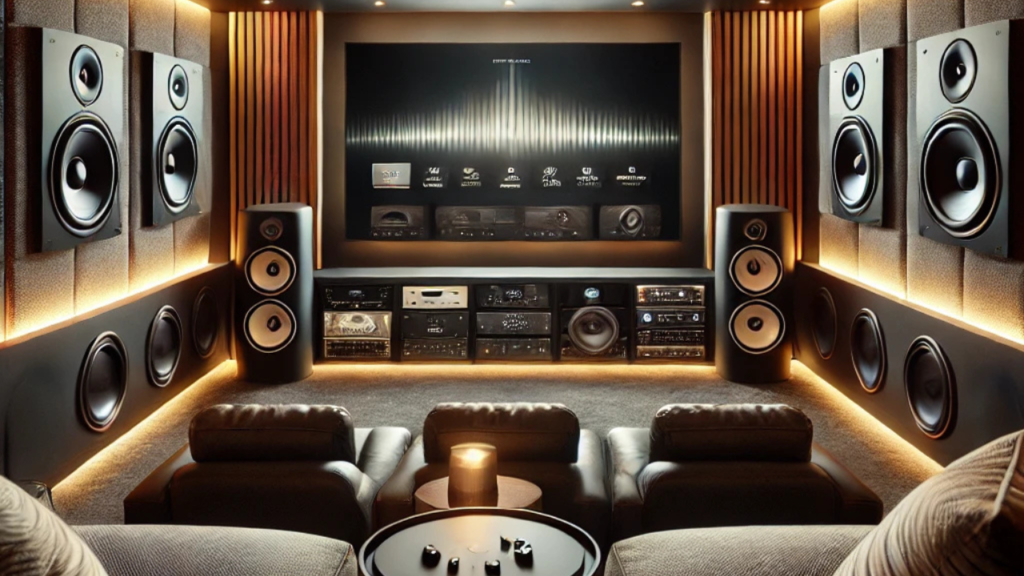
A typical system includes a receiver, speakers (front, center, rear, and subwoofer), and source devices like Blu-ray players or streaming devices. Each component plays a crucial role. The receiver processes audio signals and distributes them to the speakers, while the subwoofer handles low frequencies, delivering impactful bass.
2. Preparing for the Surround Sound Test
2.1 Initial Setup
Begin by arranging your speakers according to your room layout. Place the front speakers at ear level, the center speaker below or above the screen, and the rear speakers behind the listening area. The subwoofer should be positioned near a wall for enhanced bass.
Ensure all connections are secure, and the receiver is set to the correct configuration. Refer to the user manual for guidance on your specific system.
2.2 Room Calibration
Room acoustics significantly impact sound quality. Hard surfaces like walls and floors can create echoes, while soft furnishings absorb sound. Many systems offer automated calibration tools, using a microphone to measure and adjust speaker levels based on your room’s acoustics.
If manual calibration is needed, adjust speaker distances and levels through the receiver’s settings, ensuring consistent audio across all channels.
2.3 Tools and Resources Needed
Testing tools include test tone generators, demo tracks, and calibration apps. Many manufacturers provide test tones within the receiver’s menu. Additionally, online resources offer downloadable tracks designed to evaluate surround sound performance.
3. Step-by-Step Guide to Testing Surround Sound
3.1 Testing Speaker Connections and Balance
Start by playing test tones for each speaker to verify connections. These tones help identify if a speaker is improperly wired or not functioning. Adjust the volume to ensure even output across all channels. Balance is critical for maintaining spatial accuracy.
3.2 Testing Speaker Placement and Directionality
Play audio tracks designed to move sound across channels. Listen for smooth transitions as sounds travel from one speaker to another. Proper placement ensures realistic directionality, enhancing immersion.
For instance, footsteps in a movie should audibly shift from left to right if the character moves on-screen.
3.3 Testing Bass Performance
Evaluate the subwoofer’s output by playing bass-heavy tracks. Adjust the crossover frequency to seamlessly blend the subwoofer with other speakers. A well-calibrated subwoofer delivers impactful bass without overpowering other elements.
3.4 Advanced Surround Sound Testing
Use Dolby Atmos or DTS:X demo tracks to test height channels. These tracks feature sound effects designed to move above and around the listener, offering a true 3D audio experience. Ensure your receiver is set to decode these formats.
4. Troubleshooting Common Issues
4.1 Poor Sound Quality or Distortion
Distortion often results from loose connections or incorrect settings. Check cables, ensure all connections are secure, and verify that the receiver is configured correctly. Upgrading to high-quality cables can also improve performance.
4.2 Uneven Sound Distribution
Uneven sound may indicate improper speaker placement or calibration. Revisit the speaker layout and use a sound level meter to measure output. Adjust levels to achieve uniform sound.
4.3 No Sound from Specific Channels
If a channel is silent, inspect the connections and test with a different cable or speaker. Check the receiver’s settings to ensure all channels are activated.
4.4 Addressing Room Acoustic Challenges
Acoustic issues like echoes or dead spots can be mitigated with rugs, curtains, or acoustic panels. Experiment with speaker placement to minimize reflections and maximize clarity.
Conclusion
Achieving the perfect surround sound setup requires patience and attention to detail. By understanding your system, calibrating it for your space, and routinely testing its performance, you can unlock an immersive audio experience that rivals commercial theaters.
Remember, surround sound testing isn’t a one-time task. Regular maintenance ensures your system continues to perform at its best. Experiment with different content to appreciate the full potential of your setup. Whether it’s a thunderstorm in a movie or the subtle rustling of leaves in a game, every sound should captivate and immerse you.
FAQs
What tools do I need to test my surround sound system?
You’ll need test tones, demo tracks, a calibration microphone, and a sound level meter. Some receivers come with built-in calibration tools.
Can I test my surround sound system without professional equipment?
Yes, many online resources provide free test tones and guides for manual calibration.
Why does my surround sound system sound off in certain parts of the room?
Room acoustics and improper speaker placement can cause uneven sound. Use acoustic treatments and recalibrate your system.
What are the best demo tracks for testing surround sound?
Tracks from Dolby Atmos, DTS:X, or sound-intensive scenes from movies like “Gravity” or “Mad Max: Fury Road” are excellent choices.
How often should I test and recalibrate my surround sound system?
Test and recalibrate your system every 6-12 months or whenever you rearrange your room.
Is surround sound worth it for small rooms?
Yes, even in small spaces, surround sound adds depth and immersion. Opt for compact speakers to save space.
How do I know if my receiver supports advanced formats like Dolby Atmos?
Check the specifications in your receiver’s manual or look for supported formats in the settings menu.
You May Also Read: https://bestusatime.com/your-topics-multiple-stories/